
WELCOME TO THE JUNGLE
SHOP-
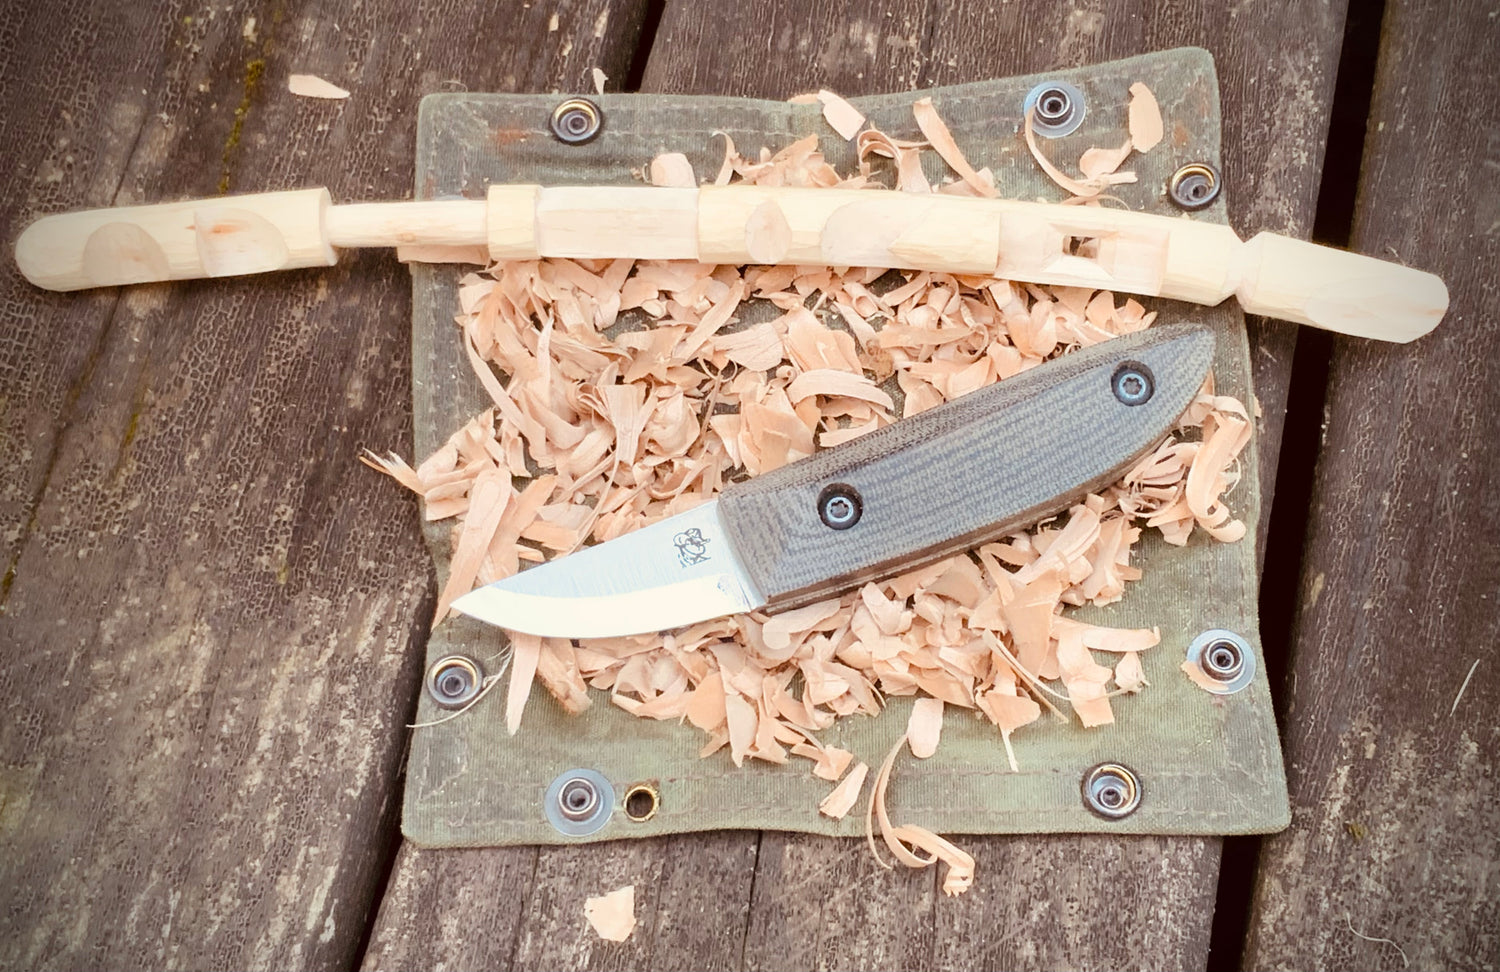
Kerf Carver, G10 Scales
Regular price $210.00 USDRegular priceUnit price per -
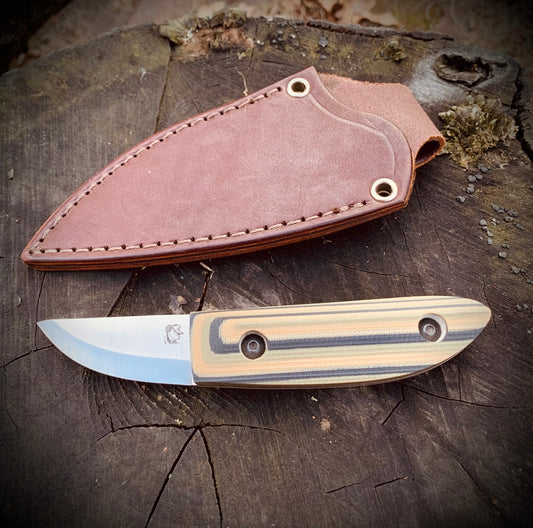
Bonds Creek Knives Fin & Feather
Regular price From $155.00 USDRegular priceUnit price per -
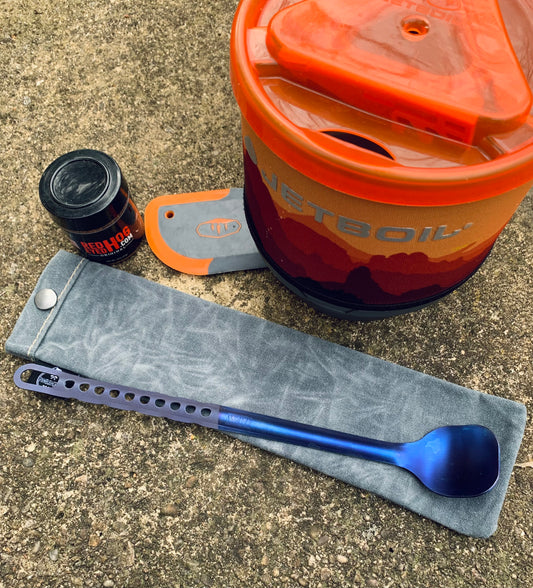
Spork Bag - King Size
Regular price $18.00 USDRegular priceUnit price per -
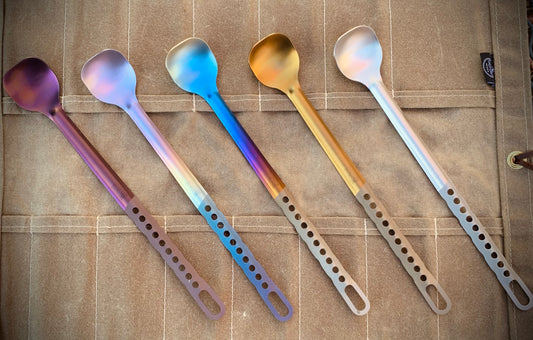
Titanium Spoon - Marten
Regular price From $20.00 USDRegular priceUnit price per -
BANANDOLIER
Regular price $1,000.00 USDRegular priceUnit price per


-
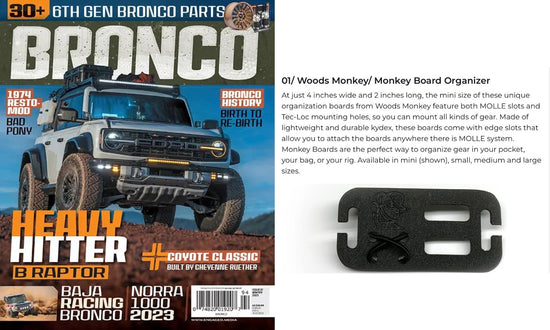
Woods Monkey made it into the BRONCO 2023 issue of TREAD Magazine. Their Gear Up column, Top Outdoor Tools and Gadgets of 2023 You Need to Know About, recommends the Monkey Board organizer to wrangle all your stuff. “Monkey Boards are the perfect way to organize gear in your pocket, your bag, or your rig.” See the full article on newsstands or on their website.

What is a Modular Friction Folder Anyway?
MODULAR
Three screws let you customize the steel, grind, shape of your blades and the thickness of your handles
STEEL CHOICES
We have the latest hot rod steels available including Magna-cut, AEB-L and A2!
HANDLE OPTIONS
Choose from 0.080 Kydex all the way up to 3/8" Micarta or G10 for hundreds of Banana Peel options
BLADE SHAPES
12 different blade shapes to find the right one for what you want to cut!